MyHeritage Photo Features:
What They Are & How to Use Them
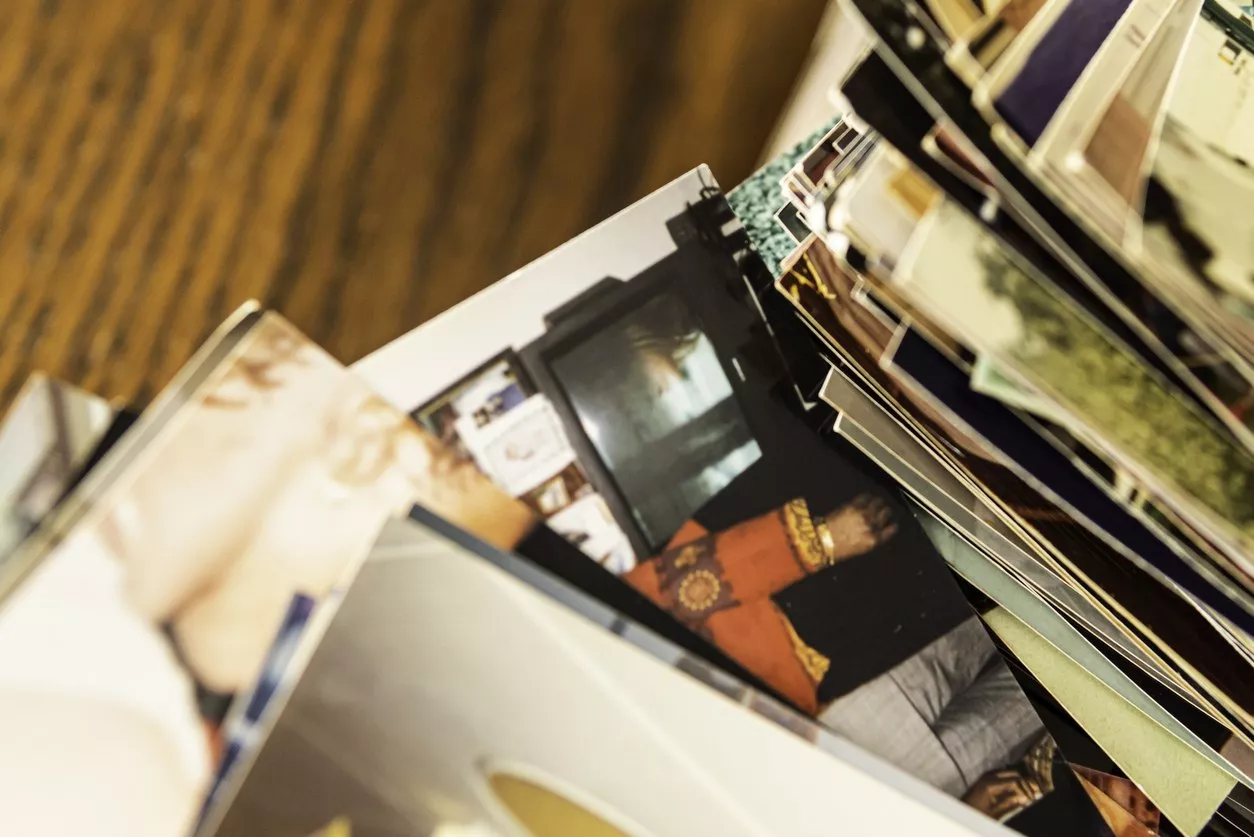
Family photos are one of the most exciting artifacts a genealogist can uncover while researching a family tree. They say a picture is worth a thousand words, but photos do have their limitations: their quality deteriorates over time, and sometimes you really need someone to tell you the story behind them to fully appreciate what they mean.
With MyHeritage’s photo features, your family photos can be worth a great deal more than a thousand words. Not only can you encounter your ancestors as never before through animation, colorization, and photo enhancement, you may discover features and details you never would have been able to see in the original image. MyHeritage’s suite of photo features makes it easy for you to preserve and celebrate the rich history your family photos represent.
In this article, we’ll introduce you to all of MyHeritage’s state-of-the-art photo features and show you how you can use them to enhance your research and tell your family’s story.
What is DeepStory?
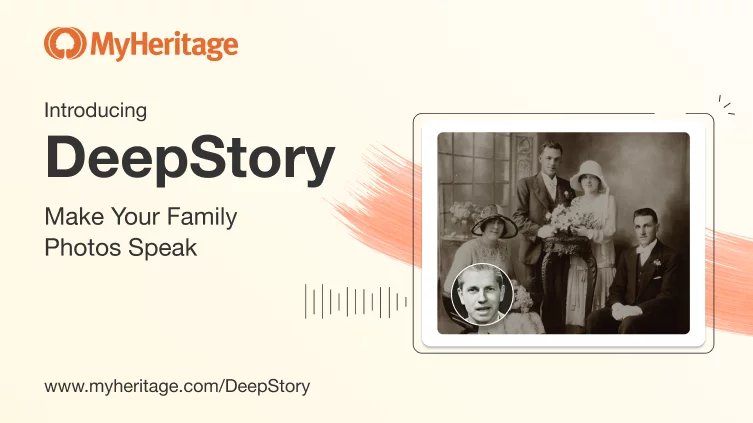
DeepStory is an incredible feature that makes the people in your photos speak, allowing you to create video animations of your ancestors telling their life stories — or anything, really — with just a still photo and some text. If you already have a family tree on MyHeritage, an automatic DeepStory can be generated for you based on details in your tree.
A DeepStory is a video biography, where the narrative is told by a speaking portrait of your ancestor or relative, based on details from your family tree and manually entered text, and is enriched by photographs that illustrate various life events.
This exciting tool gives you a whole new way to document, preserve, and share your most treasured family stories.
Watch the video below to learn more about DeepStory and see how it works:
How to use DeepStory
If you are new to MyHeritage:
- Visit myheritage.com/deepstory
- Click “Upload Photo” and follow the instructions: sign up for a free MyHeritage account, accept the terms of use, and select the photo you’d like to use
- Add some basic details about the person and create the narrative
- Click “Create DeepStory”
If you already have a family tree on MyHeritage:
- Visit the DeepStory lobby: hover over the “Photos” tab in the navigation bar and select “DeepStory”
- Select an ancestor to create a DeepStory about by hovering over their photo and clicking “Create DeepStory,” OR click “Upload a photo” at the bottom of the page to upload a photo and create a story from scratch
- You can also create DeepStories on the mobile app: go to Photos>DeepStory and tap on an ancestor to create an automatic DeepStory, or scroll to the bottom and tap “Create DeepStory” to start creating a DeepStory from scratch
Once the DeepStory is ready, you’ll be able to view it and share it as is, or click “Edit DeepStory” to enter the DeepStory Editor, where you can change the voice or add, change, or remove text and photos.
What is Deep Nostalgia™?
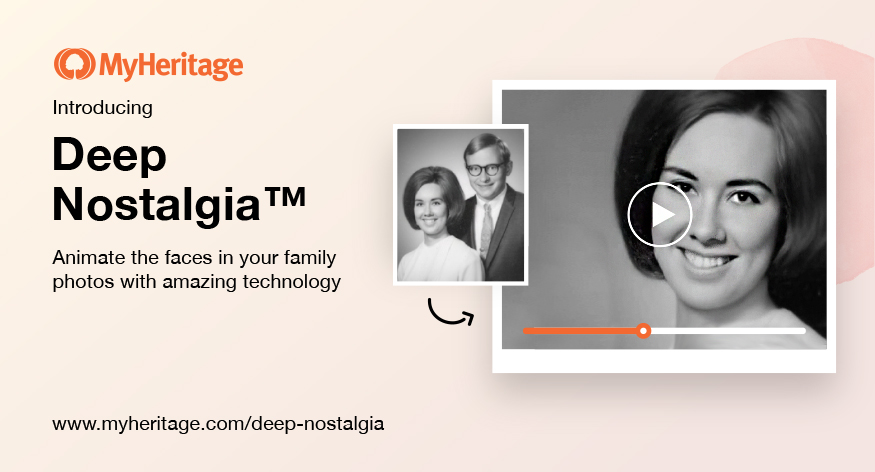
Deep Nostalgia™ is a wildly popular MyHeritage feature that allows you to animate the faces in your old family photos.
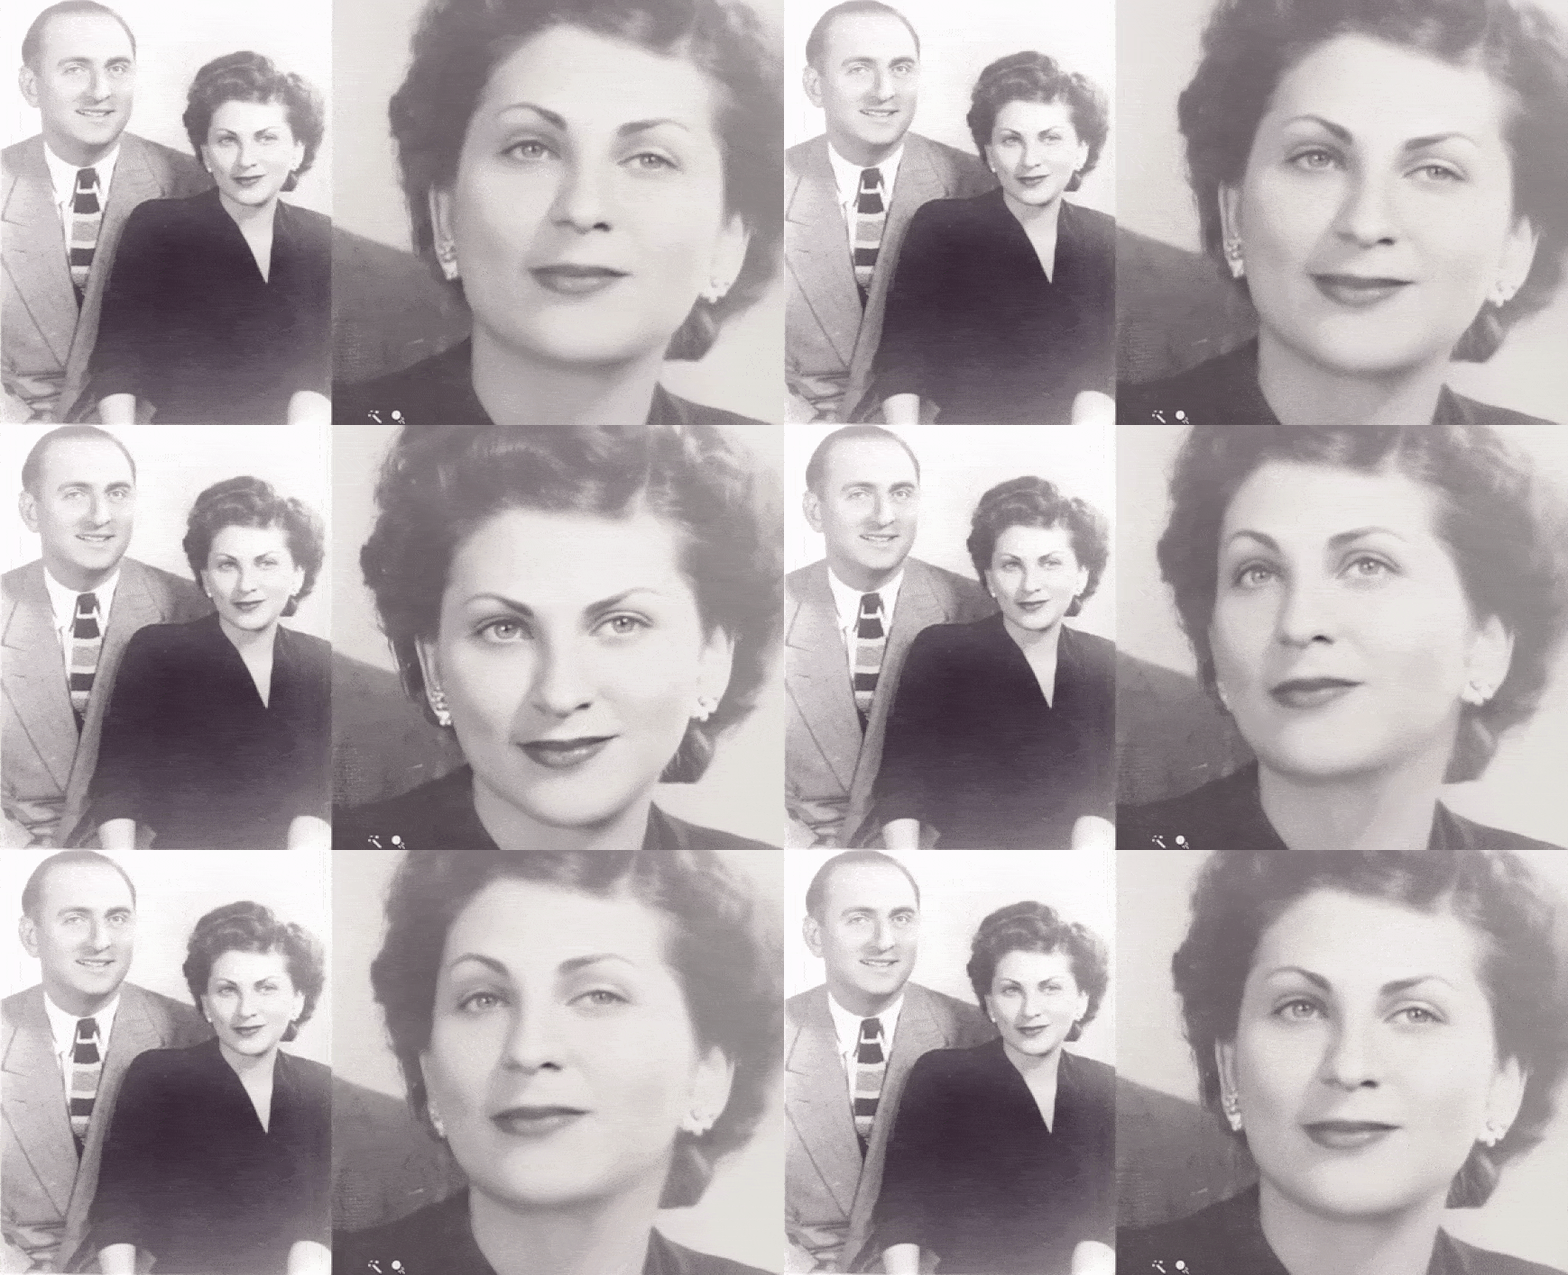
This tool identifies the faces in your photos and applies a series of gestures to them based on pre-recorded driver videos of real people blinking, smiling, and moving their heads. The result is realistic, high-quality footage of what your ancestors may have looked like in motion.
It is extremely rare to have footage of one’s ancestors from before home videos became common in the 1970s and 1980s. With Deep Nostalgia™, you can bridge this technological gap and see what they might have looked like when they smiled, blinked, and looked around. Many of our users have found the experience to be deeply moving — whether they are using it to connect with ancestors they’d never known who died long ago, or to revive the memory of a lost loved one after many years with only a still photo to remember them by.
Deep Nostalgia™ works just as well for black and white photos, color photos, or photos that have been colorized or had their colors restored by MyHeritage In Color™ (see below). Photos are automatically enhanced using the Photo Enhancer (see below) before animation to achieve optimal results.
How to use Deep Nostalgia™
- Visit myheritage.com/deep-nostalgia.
- Upload your photo.
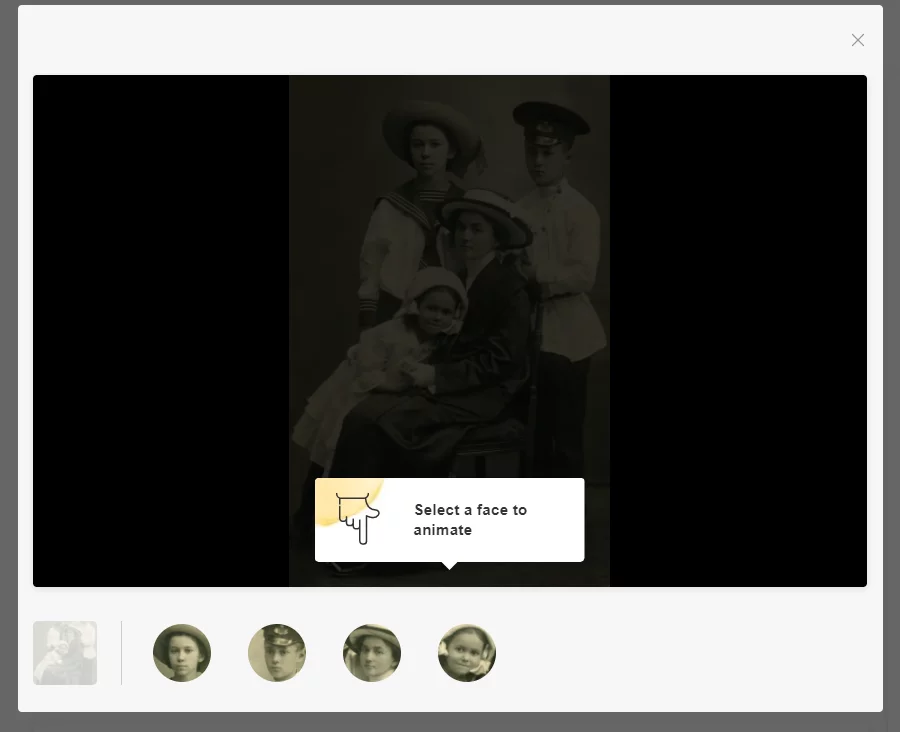
- If your photo contains more than one face, select the face you wish to animate.
If your photo has already been uploaded to MyHeritage, you can animate it directly from the photo page:
- Visit “My photos” in your MyHeritage family site (under the “Photos” tab in the navigation bar) or in the MyHeritage mobile app.

- Select the photo.
- Click or tap the “animate” button above the photo (the moving ball icon).
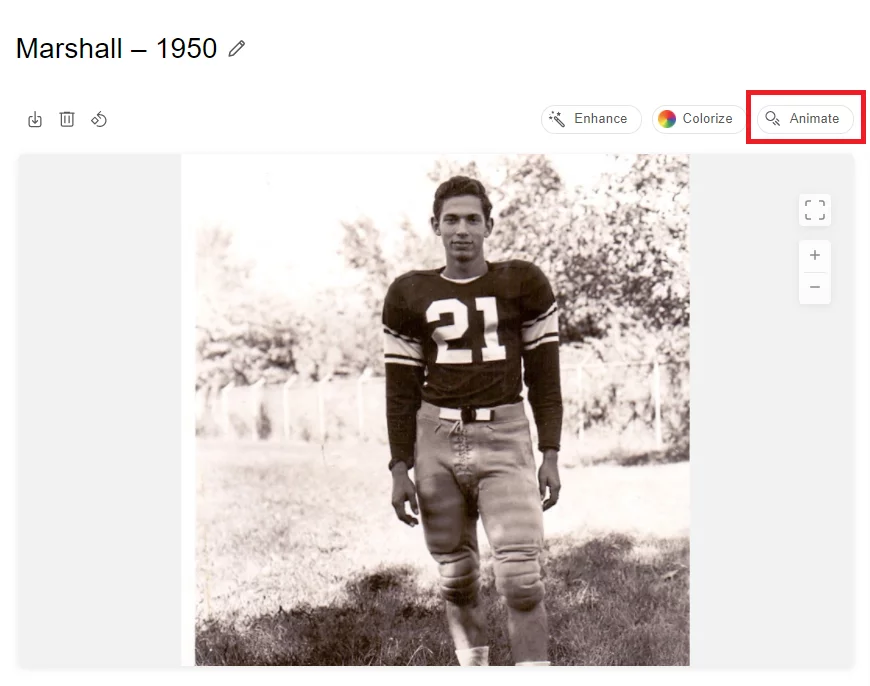
- If the photo features more than one face, select the face you wish to animate.
For more detailed instructions, see the following resources:
- Article: How to Use Deep Nostalgia™ to Animate Family Photos
- Webinar: Deep Nostalgia™ to Animate Your Family Photos
What is MyHeritage In Color™?
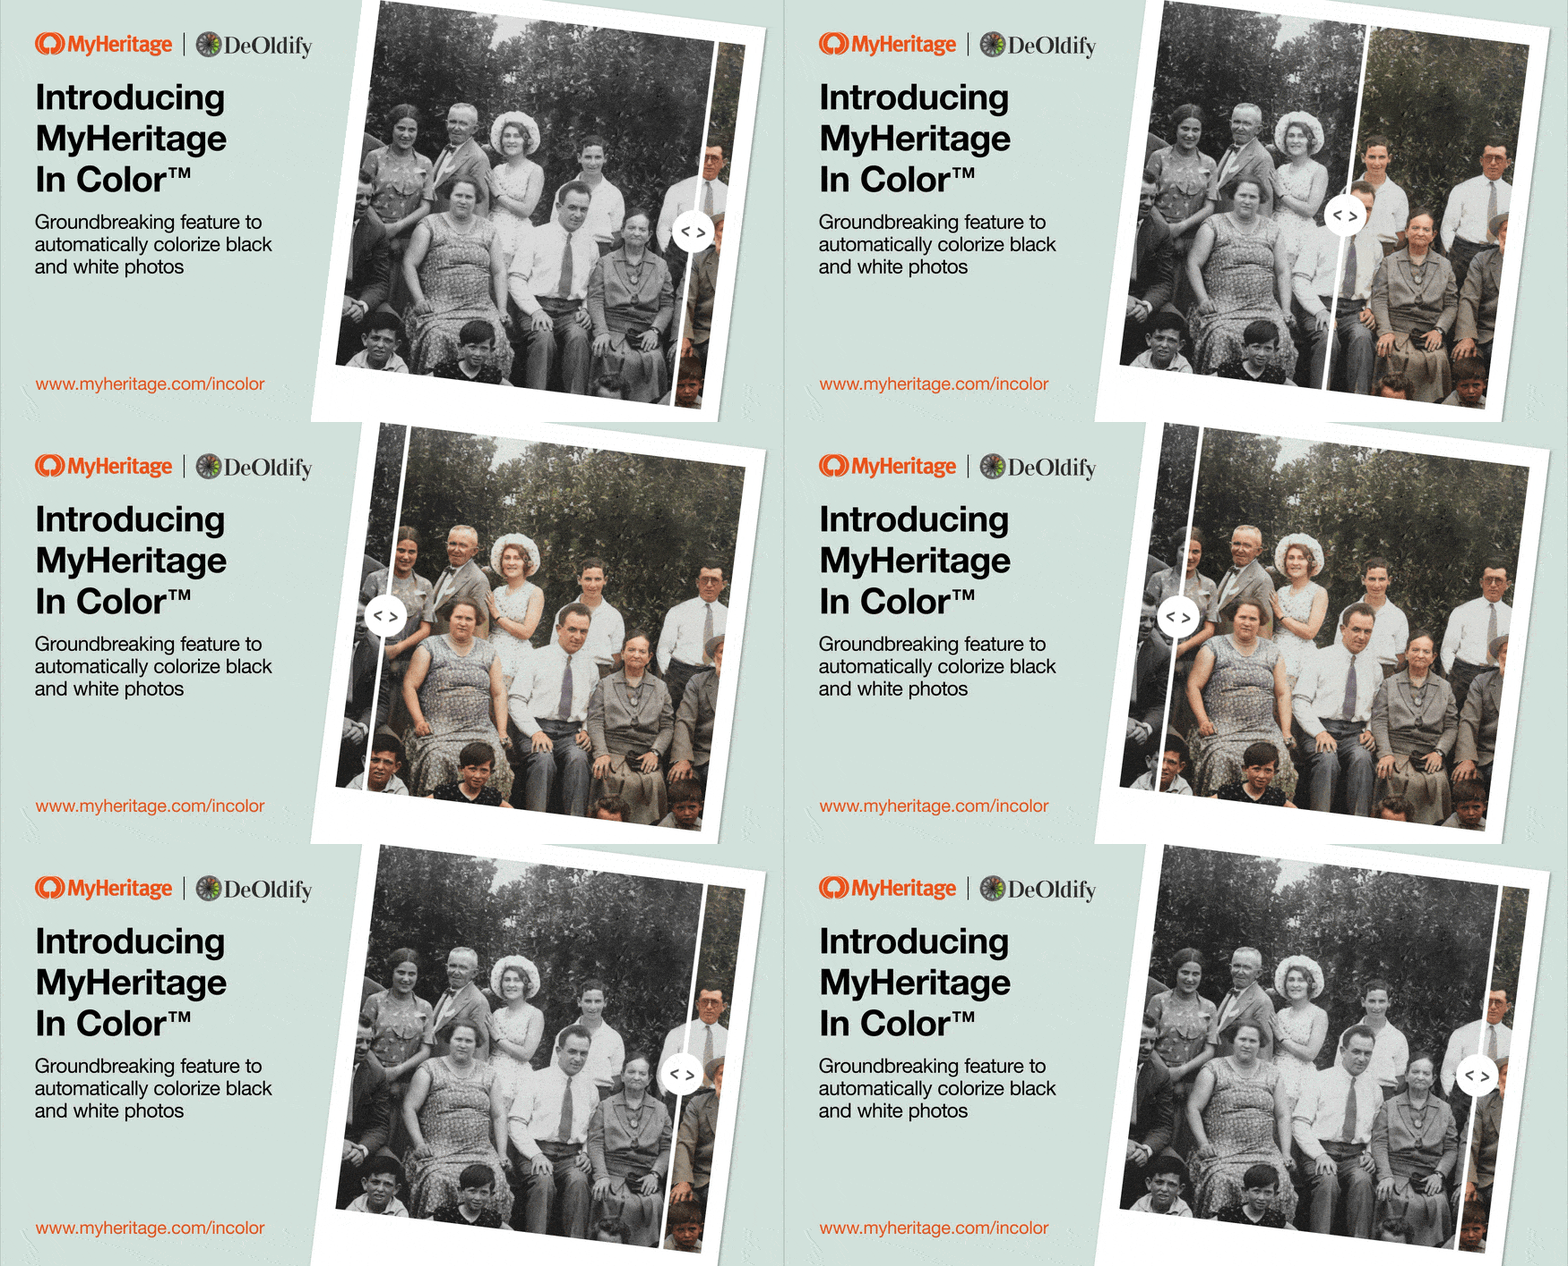
MyHeritage In Color™ is an automatic photo colorization and color restoration tool that breathes life and color into old family photos.
The tool automatically analyzes your photos and determines whether they are black and white or color, and then proceeds with the process most appropriate to each photo.
Black and white photo colorization
In the late 19th century and the early 20th century, the film used to develop photos was still not sensitive enough to register different colors. That’s why the photographs you may have from your family during this period are most likely black and white.
And though we know that our ancestors’ world was just as colorful as our own, the fact that we have only seen that world in black and white makes it difficult to imagine it in color.
That’s what makes photo colorization with MyHeritage In Color™ such a powerful tool for connecting with your ancestors and bringing the past to life. The feature utilizes state-of-the-art deep learning technology to produce a stunning and realistic simulation of what the original colors may have looked like. It’s the best tool of its kind on the market.
The advantages of colorization are not just sentimental ones. Sometimes, colorization will bring out crucial details that you wouldn’t have seen in the black and white version. For example, the writing on a sign may have been too faded to notice in the black and while version, while the colorized version might make the letters pop out. The color of a military uniform worn by an ancestor in a photo may give you a clue about where that ancestor served.
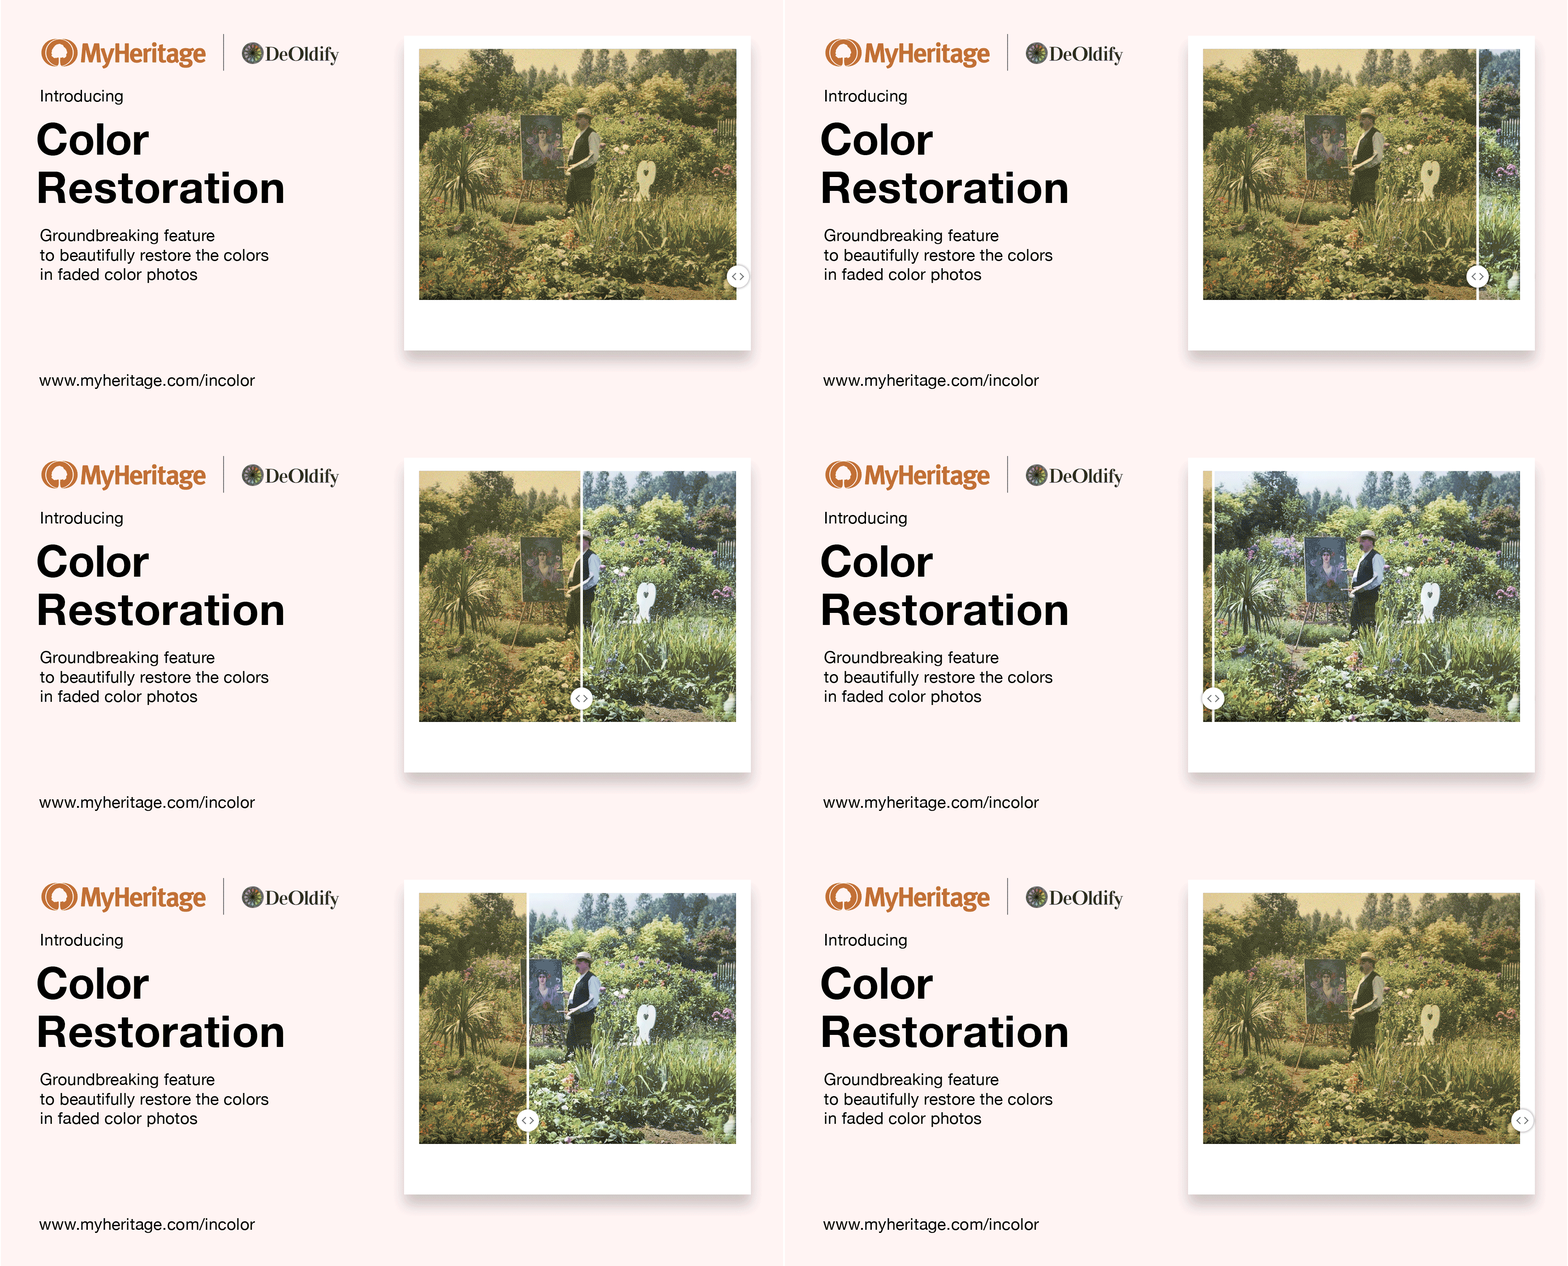
Color restoration
Before the age of digital photography, photos were captured on film and developed using a special chemical process. While the technology for film development became better and better over the second half of the 20th century, the photos were still printed on paper, and therefore subject to a process of aging, oxidation, and deterioration. Depending on the quality of the print, its storage conditions, and other factors, the colors in printed photographs tend to fade and yellow over time.
Enter MyHeritage In Color™ color restoration. Unlike the black-and-white photo colorization tool, the colors produced in the restoration process are not simulated; they are a revived version of the authentic colors appearing in the original photo.
Color restoration is ideal for photos from the 1950s to the 1990s that were taken in color, but whose colors have faded somewhat over the years. This feature allows you to relive memories from the days before digital cameras took over, reconnecting with your favorite moments.
Like colorization, it may bring your attention to details that were too faded to see in the original photo.
How to use MyHeritage In Color™
- Visit myheritage.com/incolor.
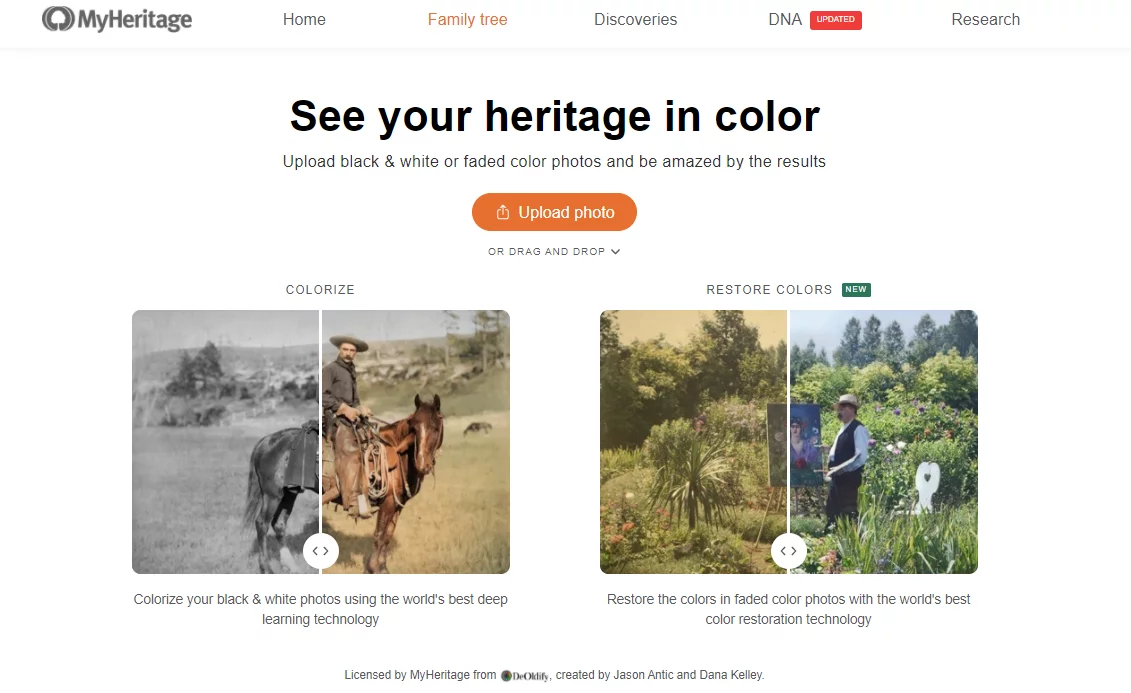
- Upload your photo.
- The algorithm will automatically recognize if your photo is black and white or in color. If it’s black and white, your photo will be colorized. If it’s in color, the colors will be restored.
- Once your photo has been colorized or restored, you can also enhance it (see below on the Photo Enhancer).
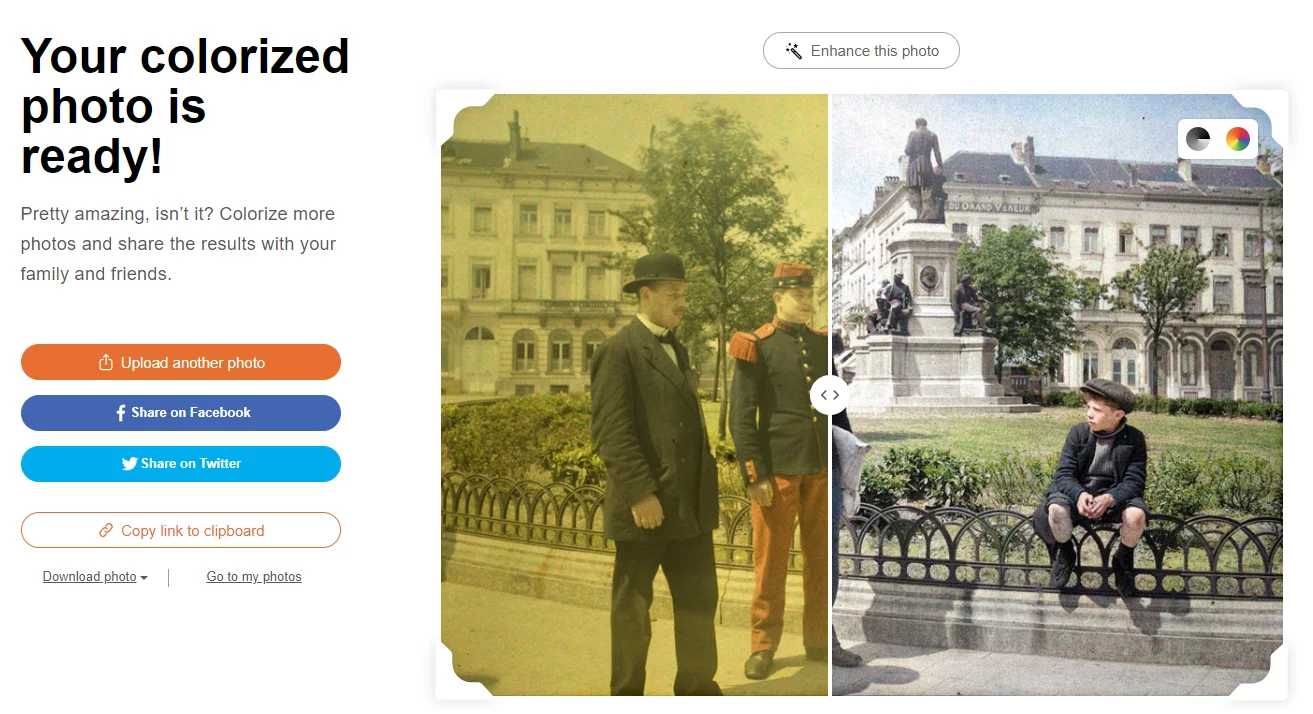
If your photo has already been uploaded to MyHeritage, you can colorize it or restore its colors directly from the photo page:
- Visit “My photos” in your MyHeritage family site (under the “Photo” tab in the navigation bar) or in the MyHeritage mobile app.
- Select the photo.
- Click or tap the color wheel button above the photo to the right to colorize or restore the colors in your photo. The algorithm will automatically recognize if your photo is black and white or in color and will colorize or restore its colors accordingly.

For more detailed instructions, see the following resources:
- Article: Automatically Colorize Black & White Photos with MyHeritage In Color™ – MyHeritage Knowledge Base
- Short how-to video: How to Colorize Your Black & White Photos with MyHeritage In Color™ – MyHeritage Knowledge Base
- Webinar: Ask The Expert – How To Colorize Photos – MyHeritage Knowledge Base
What is the MyHeritage Photo Enhancer?
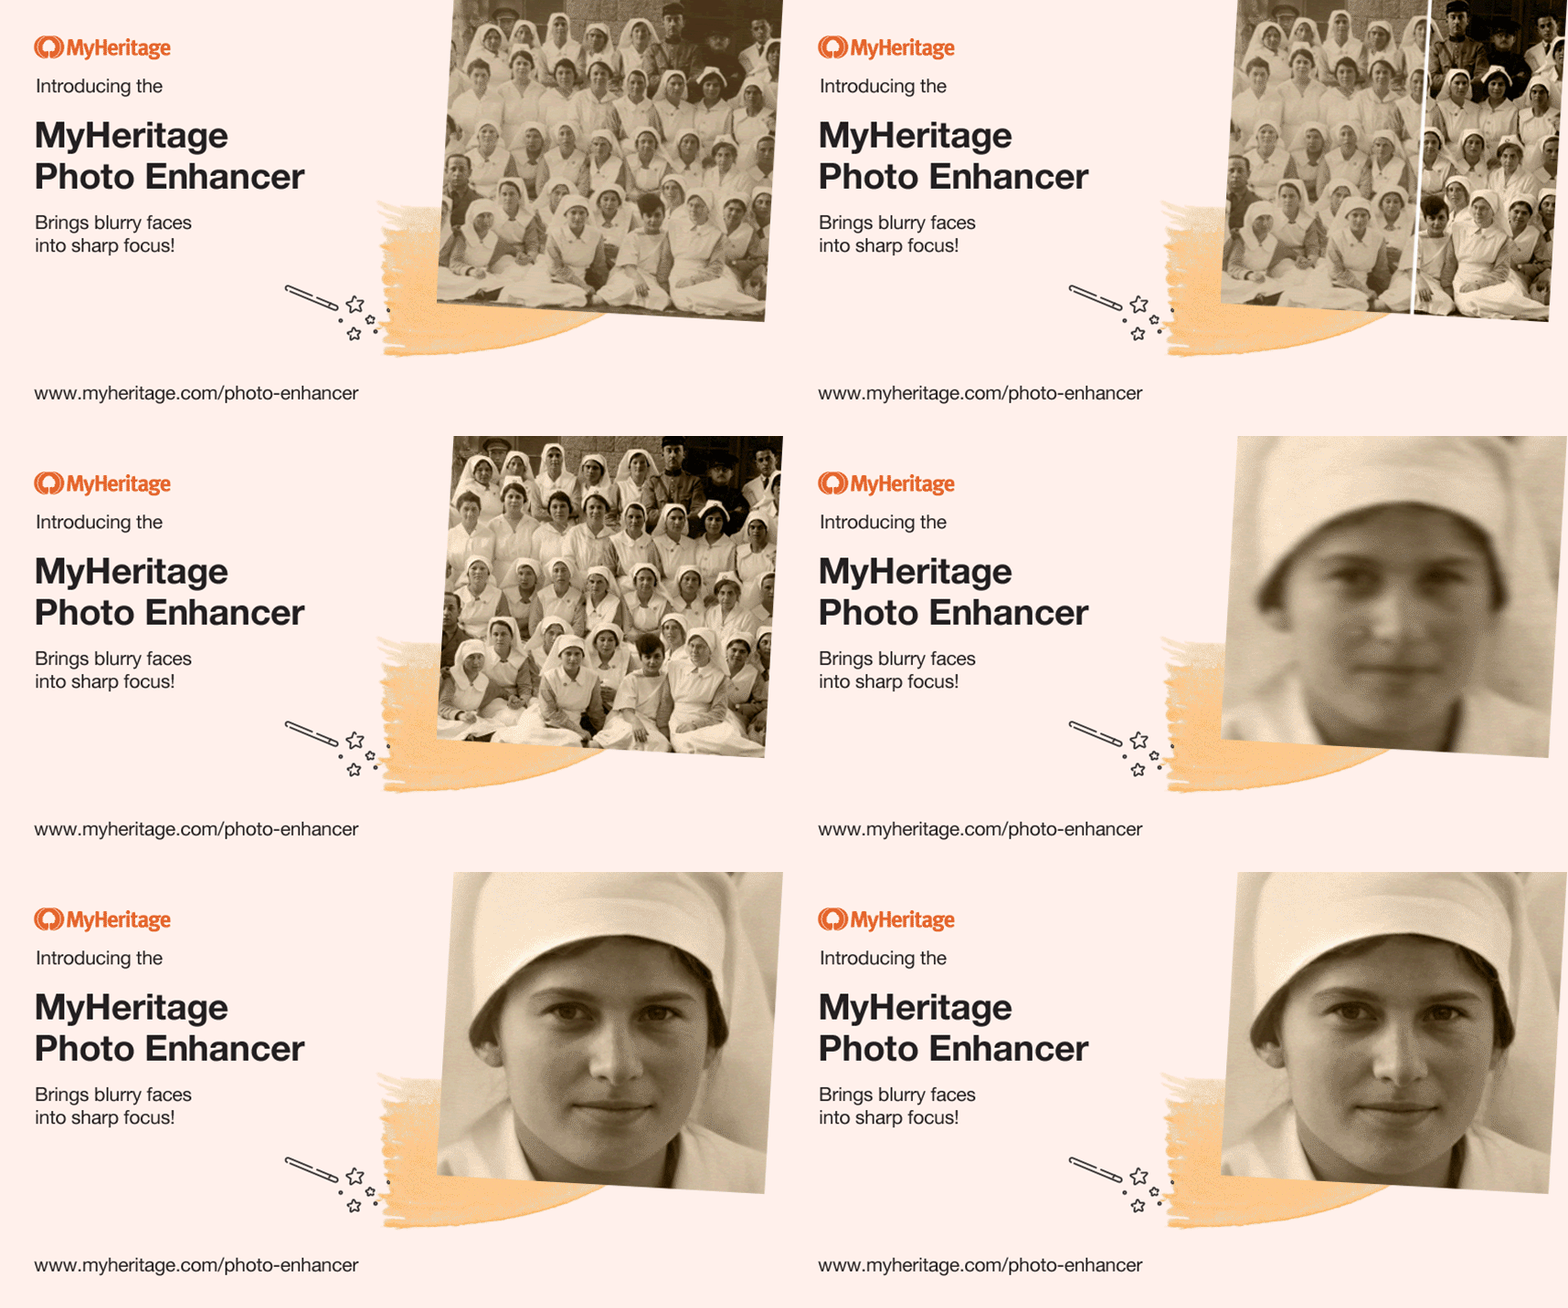
The MyHeritage Photo Enhancer is a feature that improves the quality of photos and brings blurry faces into sharp focus.
The Photo Enhancer takes photos that are grainy or blurred and transforms them, making the faces in the photograph crystal clear and sharply detailed. It also zooms in on the faces in each photo, so if you have a photo that features many people and their faces are too small to see clearly, using the Photo Enhancer will create a clear and detailed portrait of every face it detects in the photograph.
This tool, like the colorization tool, is powered by deep learning technology that infers what the original faces would look like. It then upscales the image, increasing its resolution and creating a stunningly sharp depiction of the faces in the photograph.
Using the Photo Enhancer, your encounter with your ancestors through their photographs becomes an up close and personal experience. You may notice family resemblances or subtle features that weren’t visible in the original photo — dimples, smile lines, maybe even freckles.
How to use the Photo Enhancer
- Visit myheritage.com/photo-enhancer.

- Upload your photo.
- Once your photo has been enhanced, you can also colorize it or restore its colors.
If your photo has already been uploaded to MyHeritage, you can enhance it directly from the photo page:
- Visit “My photos” in your MyHeritage family site (under the “Photo” tab in the navigation bar) or in the MyHeritage mobile app.
- Select the photo.
- Click or tap the magic wand button above the photo to enhance it.
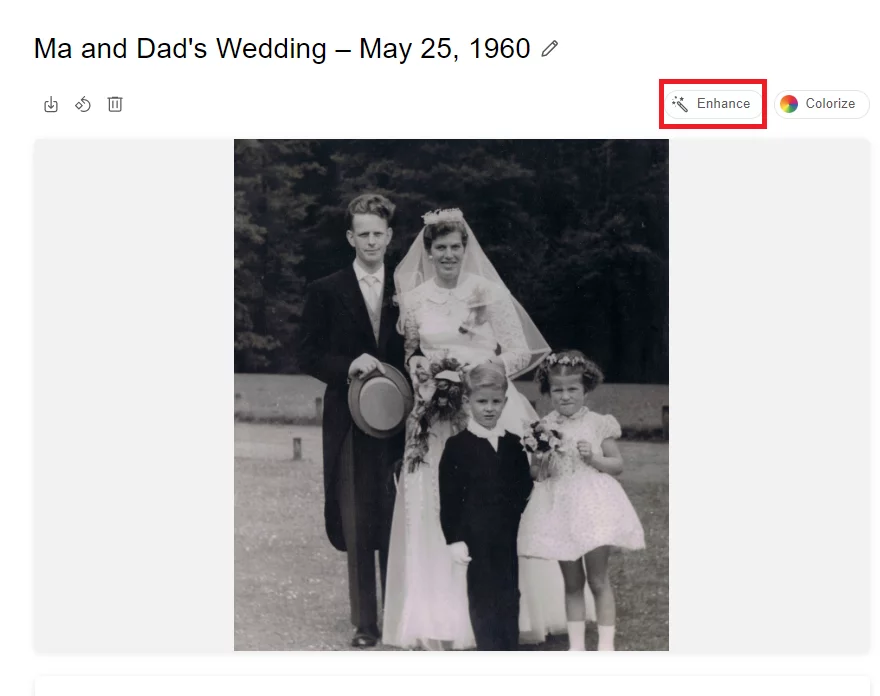
For more detailed instructions, read this article: Enhance Your Family Photos Using the MyHeritage Photo Enhancer – MyHeritage Knowledge Base
MyHeritage’s commitment to authenticity
MyHeritage is first and foremost a genealogy platform. We believe that historical accuracy and authenticity are of utmost importance. While the results of our colorization, enhancement, and animation technologies are stunning and spot-on, they are generated artificially by computer algorithms and therefore are only estimates of the true colors or details of the photos.
For this reason, MyHeritage places a palette symbol, a magic wand symbol, or a moving ball symbol on the lower left corner to indicate that a photo has been artificially colorized, enhanced, or animated, respectively.
The color restoration tool, by contrast, brings out the authentic colors of a photo — much like the filters and photo editing software ubiquitous on many apps and social media platforms. Since in this case, the colors are not artificially generated, we do not place a palette icon on photos whose colors have been restored.
What is Photo Repair?
Photo Repair is a feature that automatically fixes scratches, tears, holes, stains and other damage on historical photos.
Photos are only as durable as the paper they’re printed on. Whether they are well-loved and worn, having been passed around and reframed by multiple family members, or neglected and tossed in a box in someone’s basement, they are susceptible to tears, creases, and stains.
Photo Repair automatically detects when a photograph has this type of damage and fixes it. It allows you to restore the photo to its former glory in just one click.
How to Use Photo Repair
To use Photo Repair:
- Visit “My photos” in your MyHeritage family site (under the “Photos” tab in the navigation bar) or in the MyHeritage mobile app.
- Select the photo.
- Click or tap the band-aid button above the photo to repair it.
If the algorithm hasn’t detected any damage, the Photo Repair band-aid button won’t appear automatically above the photo, but you can still apply Photo Repair. You’ll find it under the 3-dot “more” menu above the photo.
For more information about Photo Repair, see this blog post: Introducing Photo Repair: New Feature to Automatically Fix Scratched and Damaged Photos
What is the Photo Storyteller™?
Photos can convey a lot of information: mood, emotion, actions, ideas, locations, historical details, and more. However, many photos have fascinating stories behind them that the image itself cannot tell.
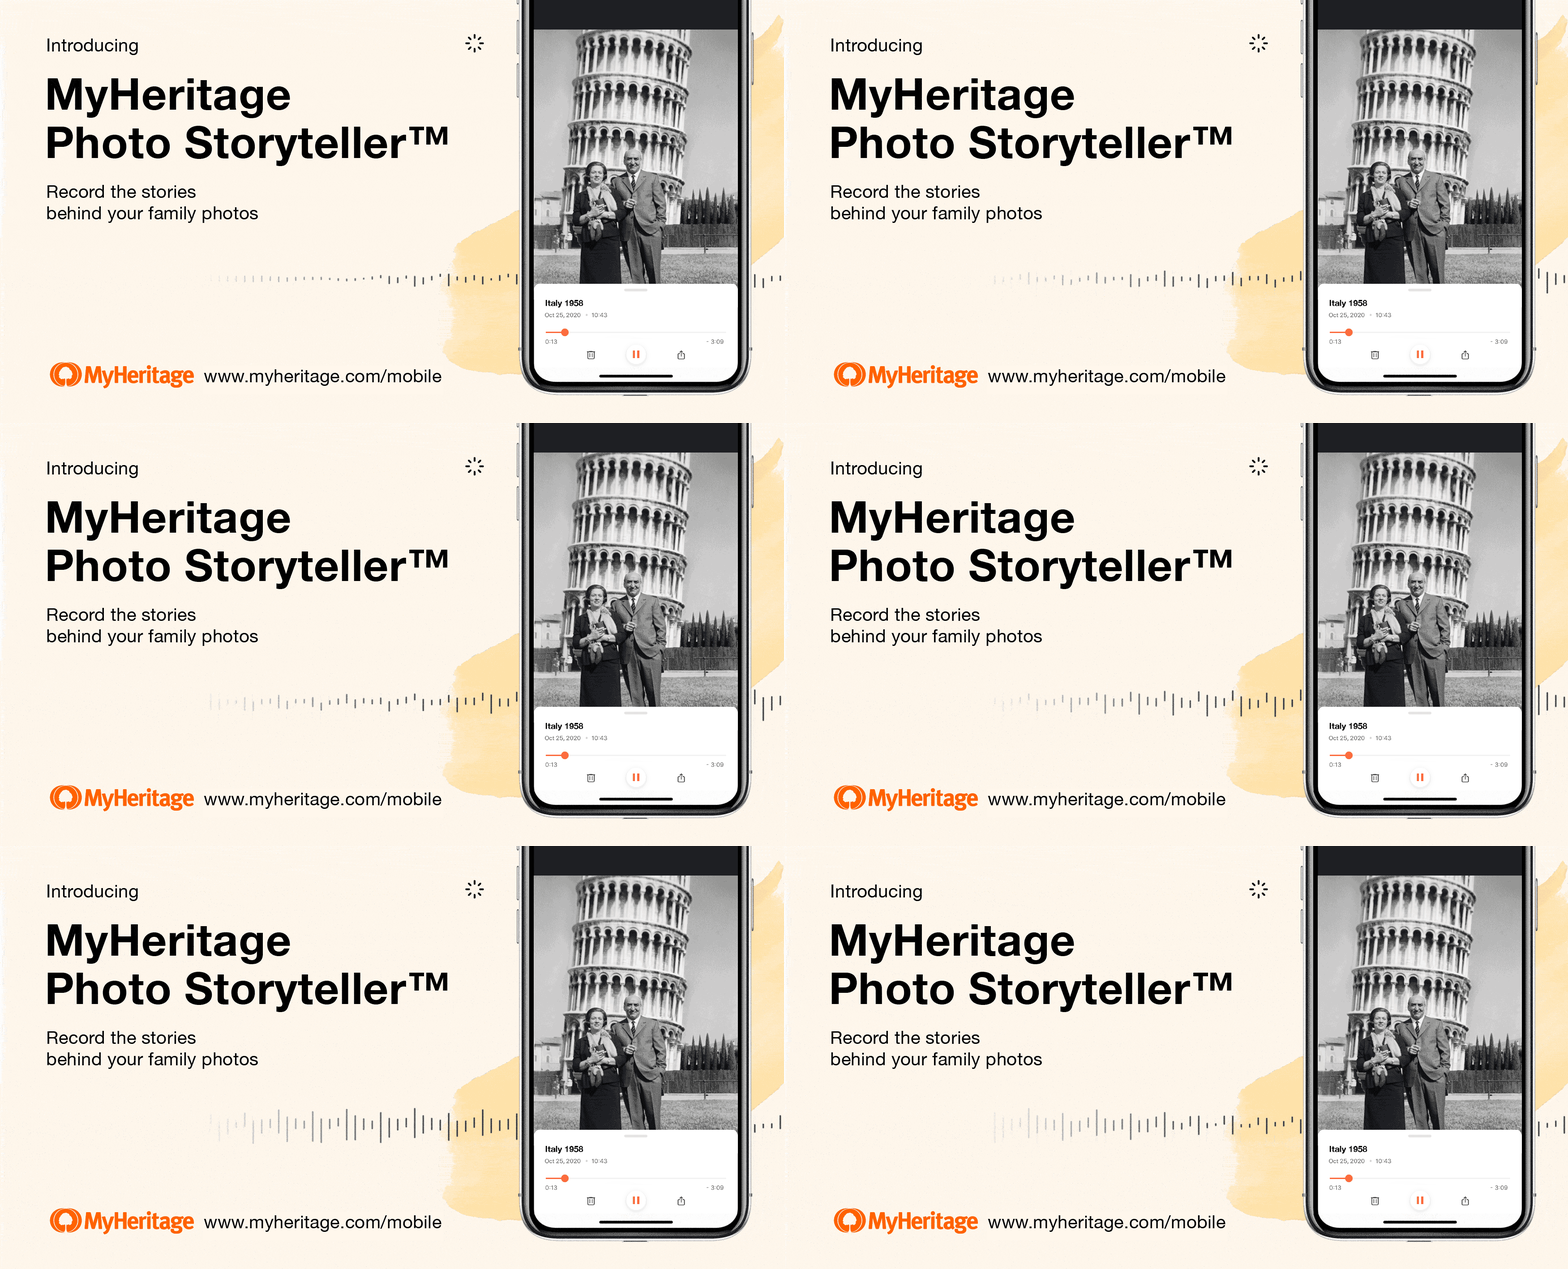
MyHeritage provides an excellent way to capture and share the stories behind your old family photographs: the Photo Storyteller™, a feature on the MyHeritage mobile app that allows you to record up to 1 hour of audio that will remain attached to a particular photograph in your albums.
One of the great uses for family photos in a genealogical context is as a tool for jogging memories. Sometimes, when interviewing a family member, showing them a photograph will help them remember stories and details that they may not have thought of if you’d simply asked them about their pasts. Using the Photo Storyteller™, you can record their stories right then and there and ensure that generations to come will hear them directly from the horse’s mouth.
Even if you’re the one telling the story, there’s something much more personal and direct about hearing a voice recording as opposed to reading a written testimony.
How to use the Photo Storyteller™
The Photo Storyteller™ is currently available only on the MyHeritage mobile app. Here’s how to use it:
- Open the MyHeritage app on your mobile device and tap the “Photos” icon on the home page.

- Select the photo you’d like to record a story for.
- Tap the microphone icon on the lower right corner of the screen.
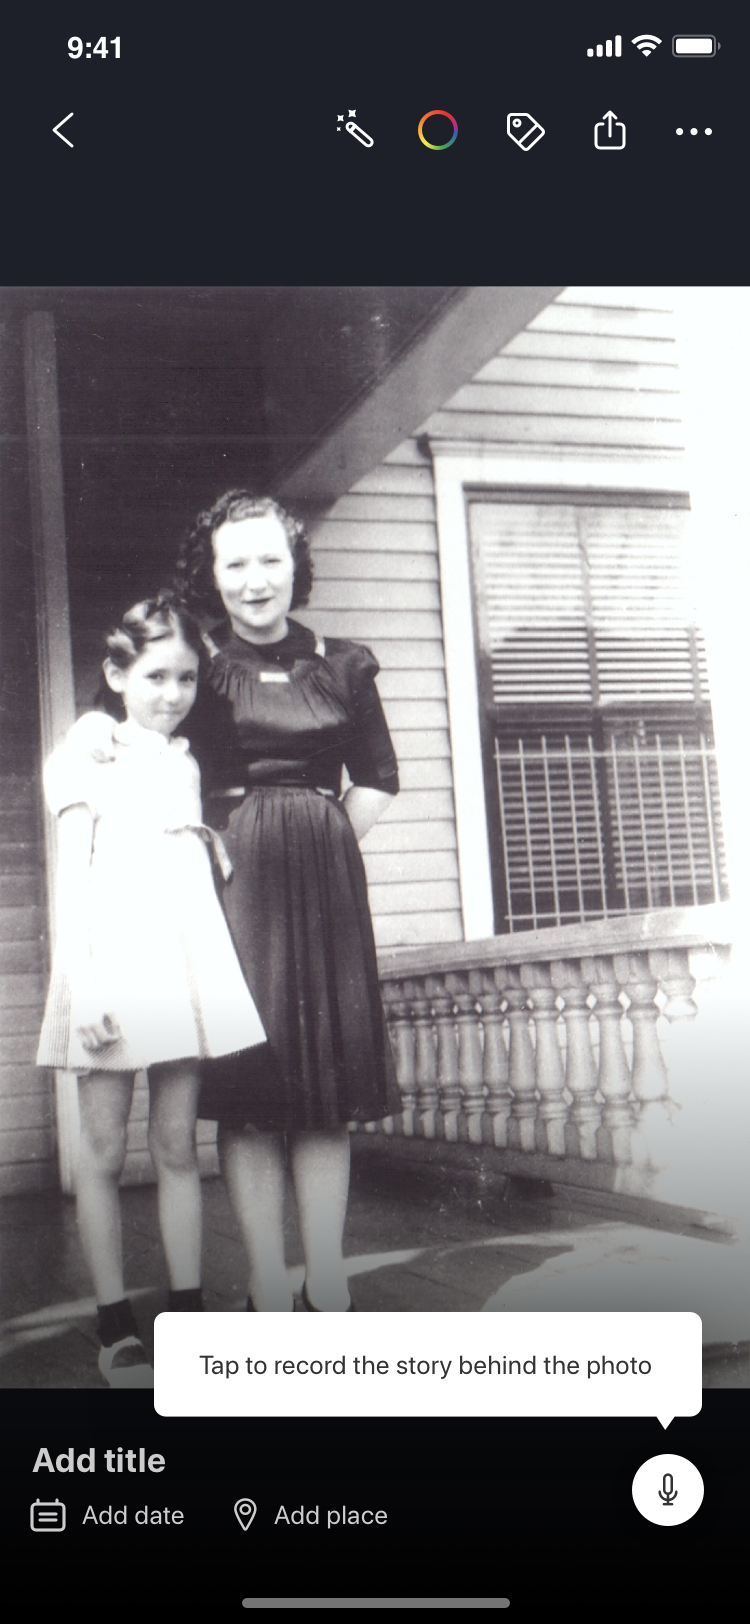
- Tap the red button to start recording, and the “Stop” button to stop recording.
- You can play back your recording and choose to save it or delete it.
- Once your photo has a story attached, it will appear with a “Play” icon on the lower right corner. Tap the “Play” button to hear the recording. You can also delete the recording, or share it as a video that plays the recording over the image of the photo.
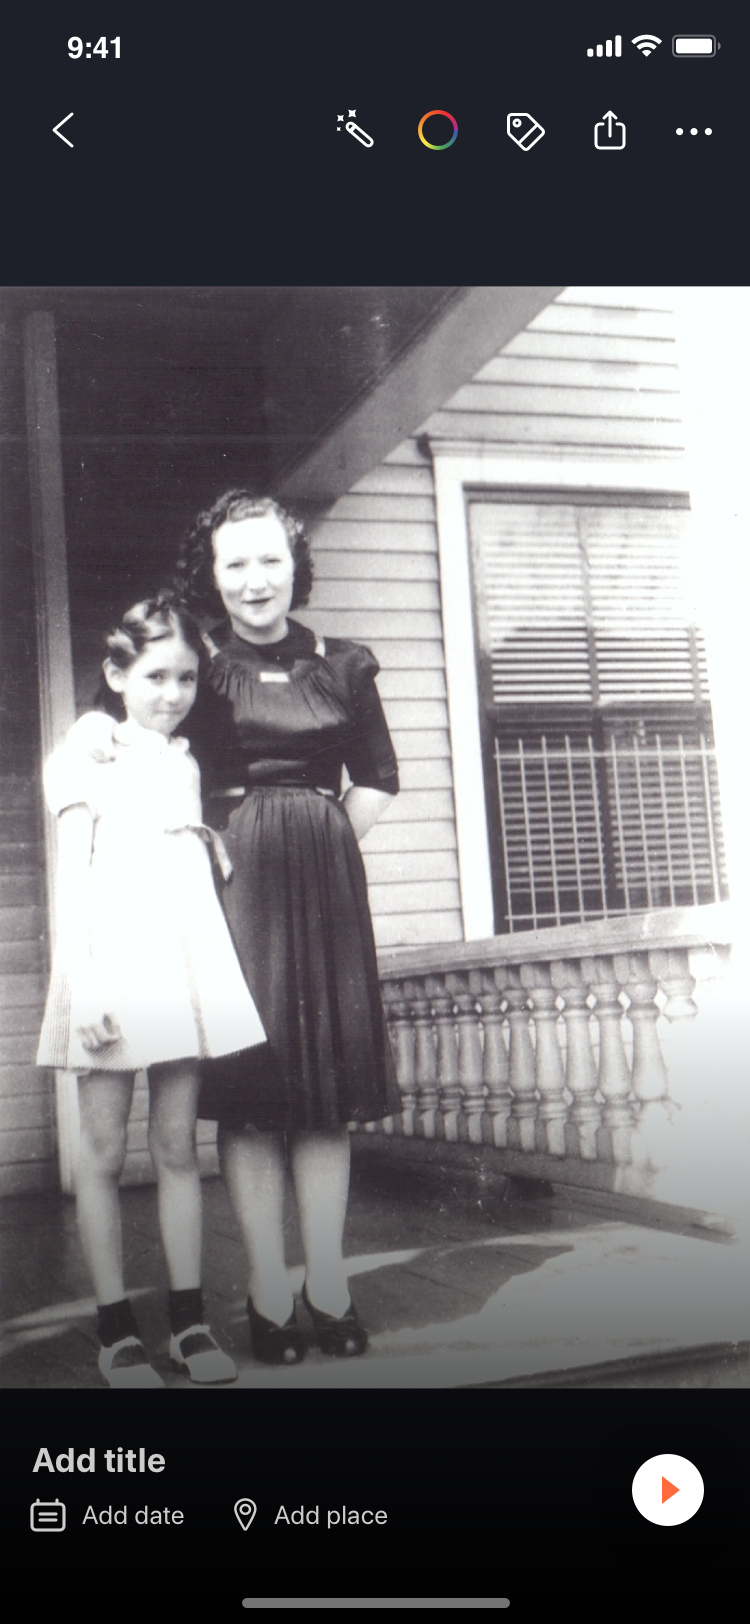
For more detailed instructions, see this blog post: Introducing the MyHeritage Photo Storyteller™
What you can do with your improved photos
Now that you’ve created these incredible versions of your family photographs, here are some of the things you can do with them.
Share digitally with family and friends
MyHeritage users love to share their animated, enhanced, colorized, and color-restored photos. Older family members are often struck speechless seeing their childhood memories or the faces of their long-gone loved ones thrown into such sharp detail and in full, bright color. You can easily share your animated, enhanced, colorized, and/or color-restored photos on social media or on any other online platform. Just look for the share icon.
Photos that have been voice-enriched with the Photo Storyteller™ can be shared as videos that display the photo and play the recording.
Print & display or add to a family photo book
You can also download your photos as high-quality JPG files and send them to a print service — or print them yourself at home.
There are many excellent online photo printing services that allow you to create high-quality prints of your photos for display, or add them to a digital photo album. Having photos accessible from anywhere online is great, but photos that are printed are much more likely to be viewed and enjoyed on a regular basis.
Create thoughtful gifts and family keepsakes
You can also use your improved photos to create meaningful gifts for your family members. Some ideas:
- Print and frame your favorites for your loved ones to hang on their own walls.
- Create a family book or album to give to your family members. As an example, this user created a colorized version of his parents’ entire wedding album and presented it to his parents on their 75th wedding anniversary!
- Have a photo printed on a pillow. This is an especially beautiful way to help an older family member hold a lost loved one close.
- Photos can also be printed on mugs, keychains, T-shirts, and a variety of other objects.
